The Montauk Point Lighthouse. Whenever I feel like I haven’t done any photography in a while, I head out east and I’m inspired by the beauty and peace I find out there.
It’s very easy to make the “postcard image” of the lighthouse, but how do you make something different of a subject that countless others photograph day in, day out?
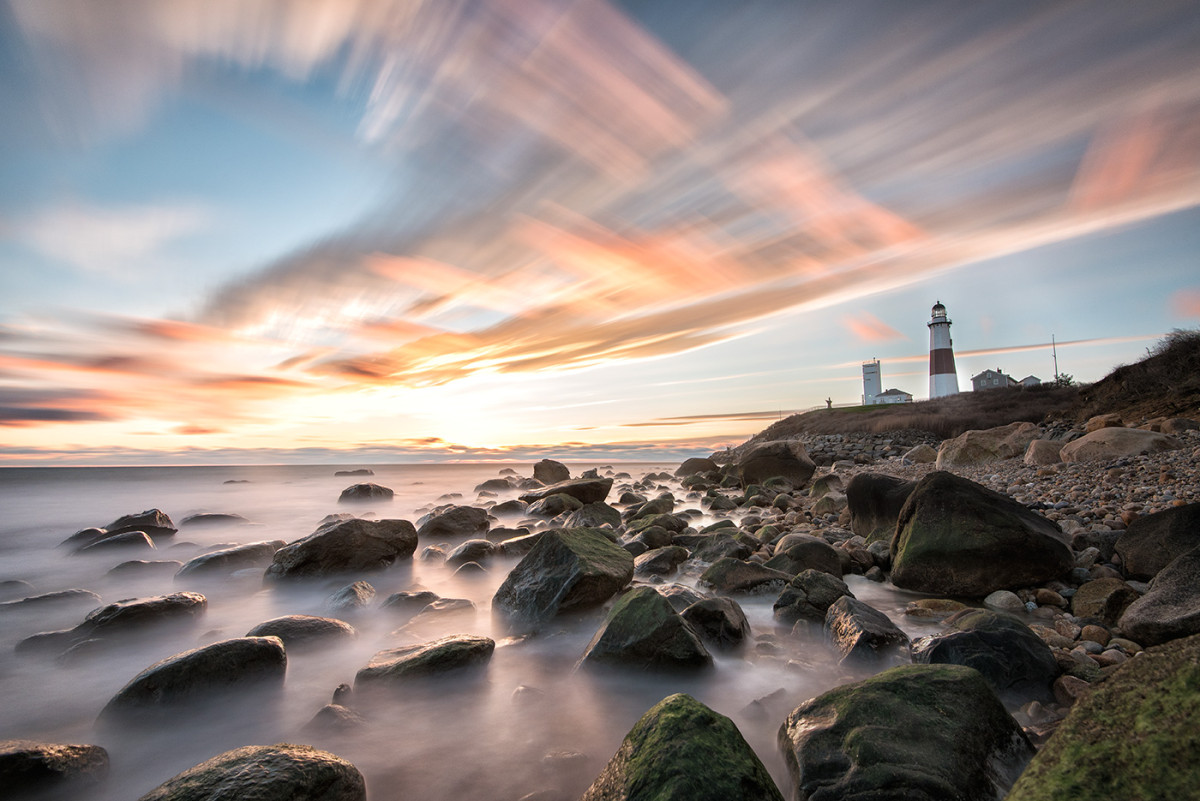
I’ll give you some tips to keep in mind to produce an image like you see at the top of this post – a long exposure taken at sunrise.
Tip #1: Time of Day
It’s the simplest thing to do – change up the time of day you go to the lighthouse. And the best times would be either sunrise or sunset (Google can tell you when that is). You’ll want to get there an hour or two early so that you can find and set up for the best shot. You’ll also want to carry a flashlight if you’re going for sunrise – getting there early means no light to see where you’re walking or what you’re sticking your tripod into (salt water is a very bad thing for tripods)

If you don’t go for one of those times, well, your shot probably looks a lot like this photo to the right.
Which is not to say that’s a bad thing, but it’s certainly an ordinary thing – you’ll get the best shots when you work while everyone else is asleep or at dinner. The lights and colors revealed in the sky during a solid sunrise or sunset is always worth the trip.
Keep on reading for 2 more tips …
Tip #2: Use a Long Exposure
Anybody can walk up at a great time and snap a nice looking picture. On the same morning I got the featured image for this post I created this shot, too:
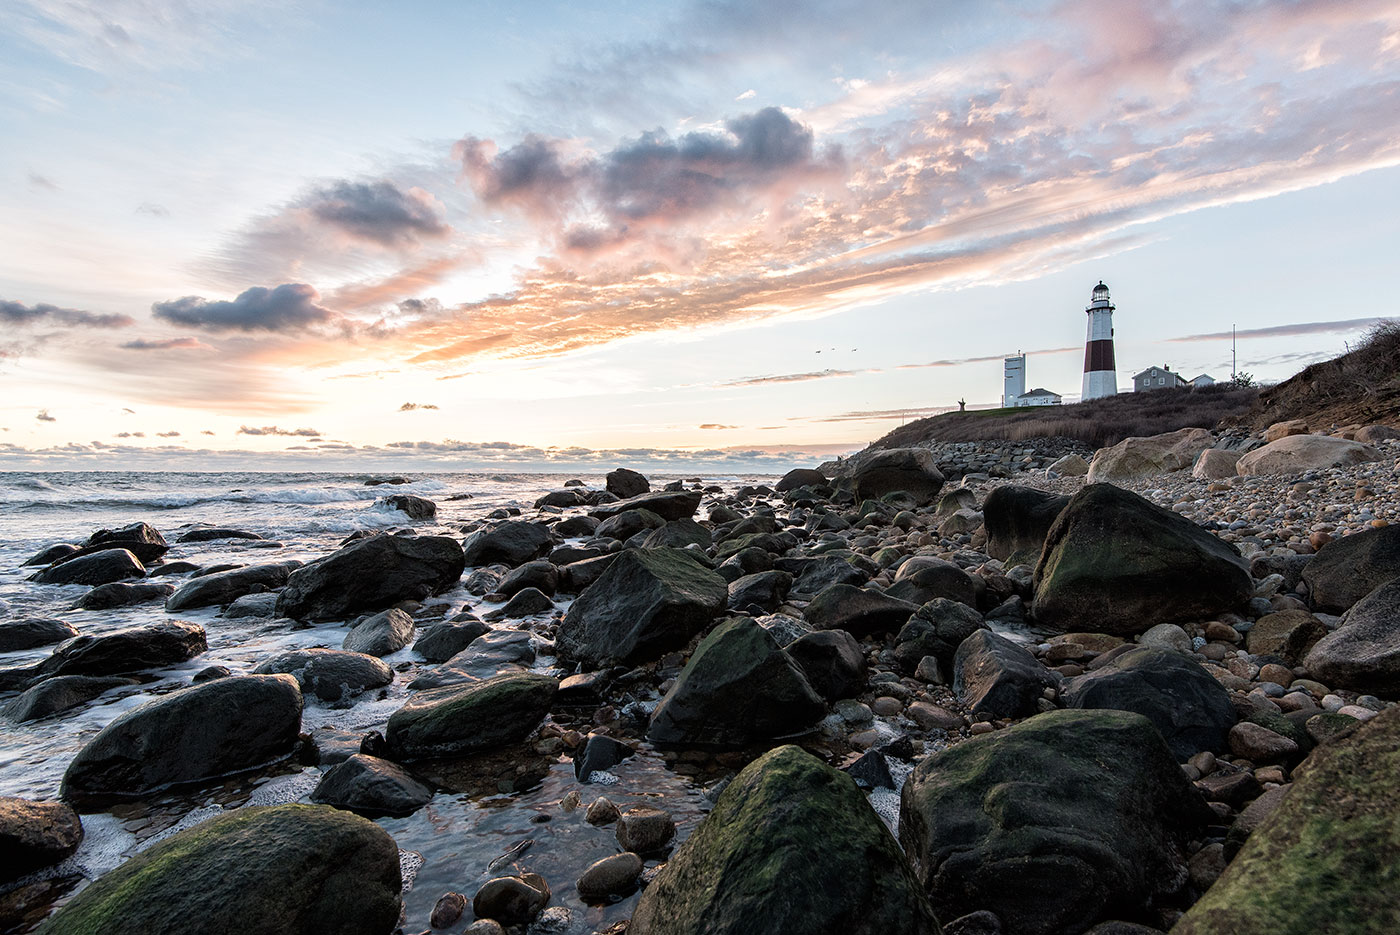
There’s nothing technically wrong with the shot, and it certainly captured the dramatic sky I saw that day, but it’s one I could have probably gotten with my iPhone and a clip-on wide angle lens. It doesn’t have the emotion I felt as I stood there watching the sun rise – with the clouds rolling along and the gentle lapping of the ocean waters.
Here’s where the long exposure comes in – the exposure for the featured image in this shot was 72 seconds at f/10, ISO 100. I used a 16-35mm lens at 16mm to capture a wide expanse of foreground rocks and water in addition to the lighthouse. With a Digital Single Lens Reflex camera (the big ones with interchangeable lenses) I open up these options for changing exposure and using fancier lenses.
But how did I get 72 seconds when a 1/60 at ISO 400 gave me a decently exposed shot? That’s where a neutral density filter comes in – I have a 10-stop ND filter that I placed over the lens (think of it as a pair of sunglasses – it cuts light coming into the lens so the camera will need a higher ISO, wider aperture OR a longer exposure to capture the same properly exposed image). This particular filter is so dark, I have to focus the camera before I put it on, and even then I need to be careful not to bump the focus ring when screwing the ND in. The ND filter’s expensive, for sure (and I’d argue a graduated ND filter would have been the better choice here) but you can’t really accomplish the same effect with shorter exposures, and you risk diffraction (a topic for another post) when you go to super-small apertures like f/32 or so to get a long exposure.
Most cameras won’t allow a 72 second exposure without going into the camera’s “Bulb” mode (either a B on your mode dial or somewhere at the end of your manual exposure’s shutter speed settings on most DSLRs). Because of this you’ll want to use some sort of remote shutter release, otherwise you’ll have to hold down the shutter button the entire time – not a recipe for sharp photos, nor is that easy when standing on a slippery rock.
The long exposure here gave the water a misty, ethereal quality and the clouds became streaks in the sky. An inspiring sunrise, indeed.
TIP #3: Don’t fear post-processing
I hear a lot of people saying “I don’t believe in processing, I want to get it all right in camera” – which is fine in many cases, except that when you’re doing these long exposures, it’s not an exact science. The sun’s coming up fast, the situation’s changing – sometimes you’ll only land in the ballpark.
In this case, I came close, but didn’t nail the exposure because of the guesswork involved here.

Here’s an unprocessed version of the photo to the right. It’s definitely not the way my eyes saw the colors and the scene, and because of the neutral density filter and the inherent vignette of the lens, there’s an unnatural shadowing around the edges of the image. That wasn’t there in real life, and it’s something that needs to be corrected.
Most software can correct these problems easily, and as you can see for the final version of the photo, I corrected some wide angle lens distortion and brought up the shadows so you could see both the rocks and the sky easily. I guessed under on the exposure to retain the highlight detail – I can always bring up shadows easier than recover a blown-out sky in most cases.
The photo was also warmed up a bit because the auto white balance on the camera seemed to run a bit cooler than it actually was for some reason.
And that is how I got this shot, turning the every day shot of Montauk Point into something at least slightly different from the usual.
2 thoughts on “Three tips, better shot: Montauk Point Lighthouse”