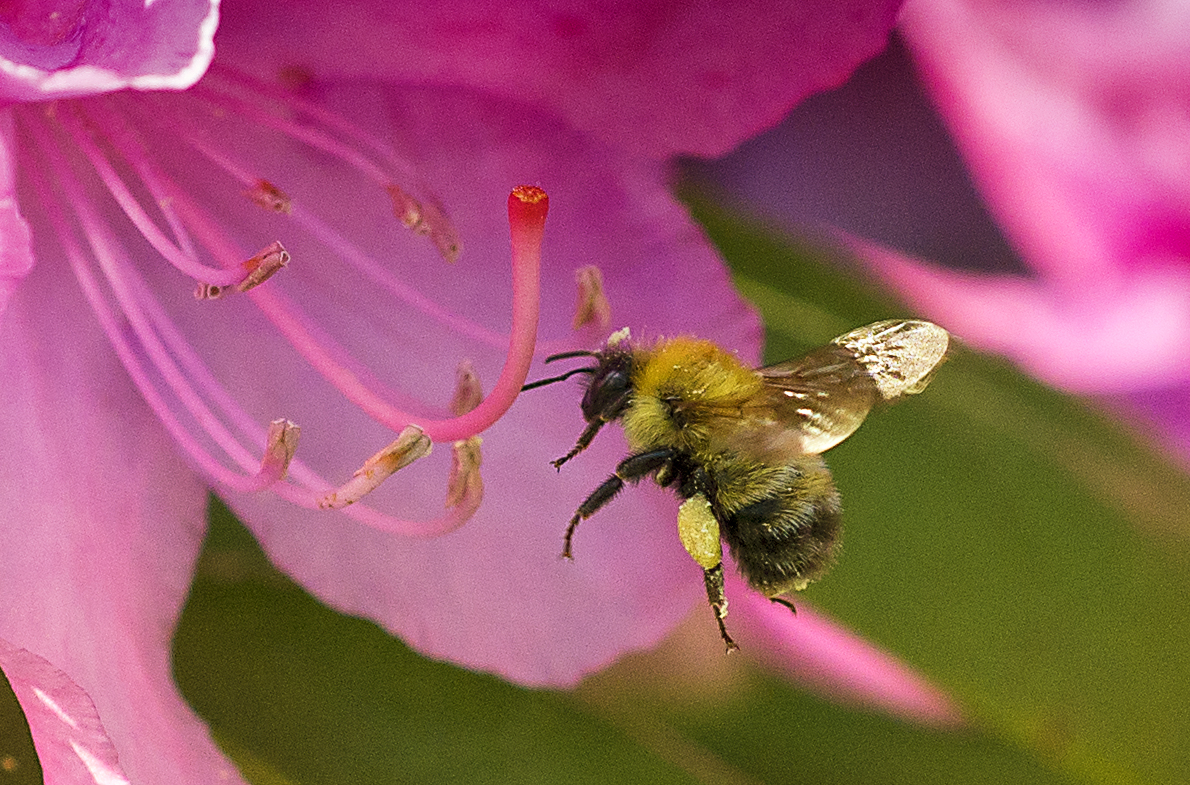
I’m not the greatest macro photographer. Sometimes, you just get lucky and get a cooperative subject, like this bee here on the featured photo for this post.
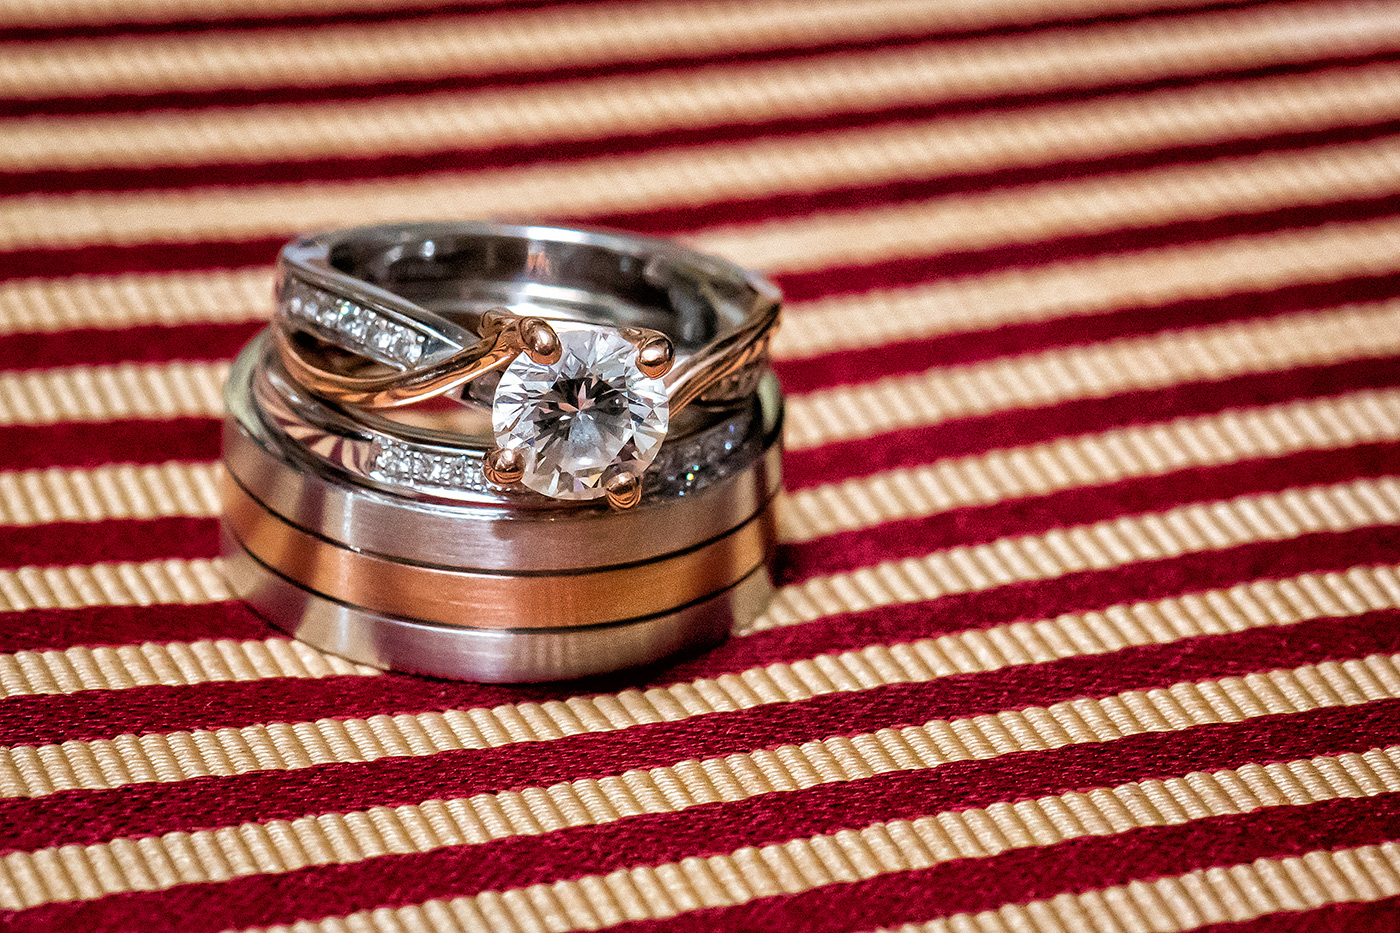
But that said, macro photography is an important tool to have in your toolbox – if you’re shooting a wedding, for instance, you are going to want a close up shot of that ring (like the one later in this post). If you’re hard pressed to find beauty in the landscape around you, perhaps pushing in on a minute detail will make for a better photo. And in other cases, it can just provide a window into the unseen world of the small.
So with that in mind, here are three tips to help with some basic macro photography.
Click for more.
Tip #1: Use a dedicated macro lens or mode
Many people try to take the lens that came with their camera (or phone) and just jam it up against their subject and try to take a picture. This generally won’t work – lenses have what’s called a “minimum focus distance” in which they won’t focus on anything within that range, very close to the lens. It’s one of the number one mistakes I see all the time.
The beauty of a macro lens (or a micro lens, as some companies call it), is that their minimum focus distance is much shorter than a conventional lens – in some cases mere millimeters in front of the lens elements. You can get far closer to the subject and make it appear life-size (or, depending on the lens, larger than life) with a macro lens.
Getting a macro lens with a longer focal length, something like a 100mm or 180mm macro lens, will give you more working room and the ability to be farther away from your subject while shooting. I certainly would have much preferred a longer focal length than the 60mm I had while shooting this bee above!
Don’t have a camera with interchangeable lenses? Then try the “flower” icon on your camera’s focus menu – this is usually the universal symbol on cameras to activate a closer-than-normal focusing mode most for point-and-shoot cameras, allowing for almost-macro photography.
Finally, if you have a cell phone, even this may not be an option – in which case there are third party accessories, like Olloclip lenses, that will let you achieve the same results.
Tip #2: Use a smaller aperture
There a few things that affect depth of field, such as aperture, subject-to-background distance, focal length – but the one to keep in mind here is the distance you are to your subject. In the case of macro photography, that’s not far at all.
In most shooting situations, conventional wisdom says f/11 will give you deep depth of field (more of the picture in focus). But if you take a look at this ring shot above, it was shot at that aperture – and the depth of field is certainly very shallow. The focus falls off (intentionally) halfway at the band of the engagement ring. In the bee photo at the start of this post, the aperture was at f/5.6.
So throw conventional wisdom out the window – you will need a smaller aperture in macro photography to get any decent amount of depth of field. Much smaller than you probably think.
Tip #3: Start by shooting outdoors, in good light
Following tip #2, a small aperture means less light will be getting into your camera’s lens. Since that’s the case, you’ll need to use higher shutter speeds to compensate and get a sharp picture. With this kind of close-up work, any shake coming from your hands and the camera will be noticeable.
So with that in mind, starting out with the brightest light there is – the sun – will give you the best chance of success. – you’ll get plenty of room for a fast shutter speed because of the abundance of brightness. Shooting in a room indoors will make your life far more difficult in this respect.
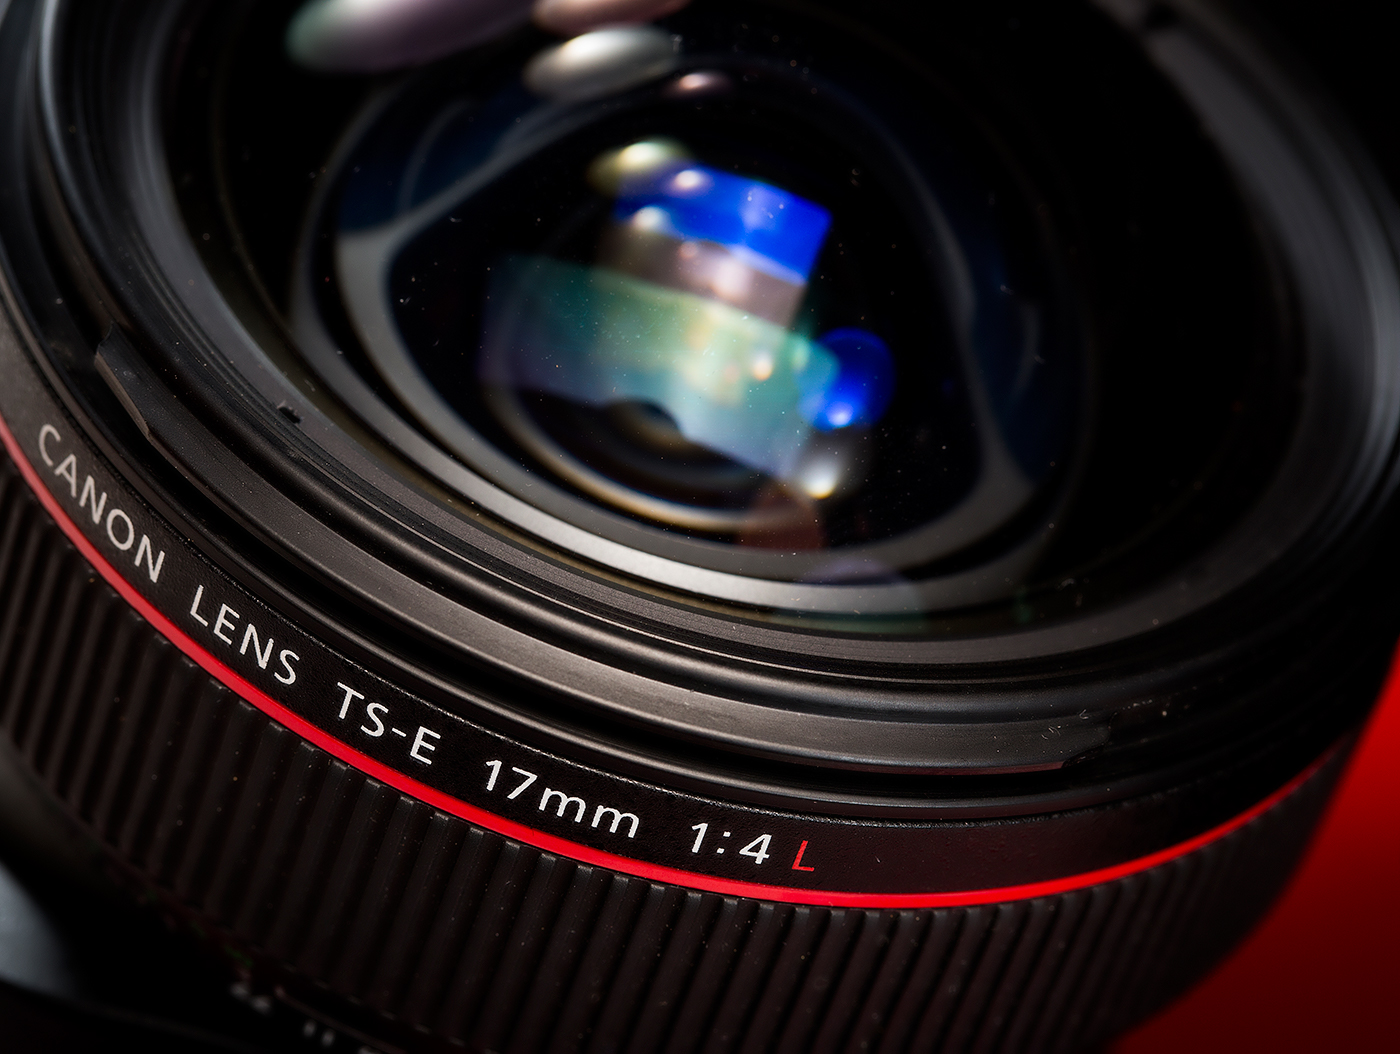
That doesn’t mean it’s impossible – but you’ll probably need some dedicated equipment to do so. This Canon lens below was shot with a macro lens indoors – but if you look carefully at the glass elements in the lens, you’ll see three lights were used to light this product shot.
Maybe you have a great macro photo you’d like to share yourself? Feel free to post in the comments below!