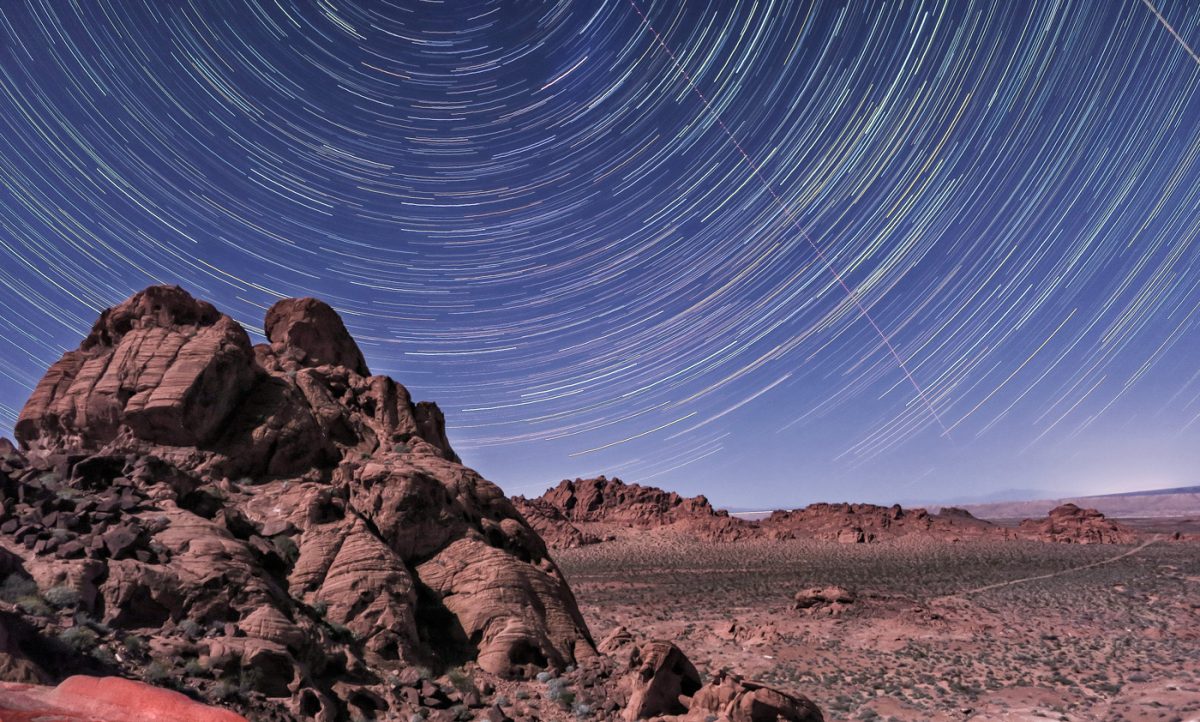
You’ve probably seen the photos pop up on your Instagram or Pinterest pages – the ones where the stars look like white lines streaking across an expanse of night sky, like the photo featured in this post. It’s a bit of a different animal than to get a straight-up shot of the night sky, like I posted about earlier.
So how do you get such skies in your own photography?
It starts with the basics of course – a sturdy tripod and a cloud-free night. You should also make sure you are far away from any light pollution from nearby civilization. How you arrive at the photo, however, is entirely up to how much patience you have and the method you choose.
Read on for a few ways to try this technique out.
Tip #1 – Use a really long exposure
With just the plain-old night sky, I suggested a long-ish exposure. For this one, you’ll need a really long exposure
If you’re blessed with a night without a lot of moonlight, one way to go about this is to set up on a tripod and point your camera (preferably with a fast, wide-angle lens) to the sky and let it rip with a long exposure. I’m talking really long – I needed a little over 53 minutes to get the shot above. I used a remote to start and stop the shutter so I wouldn’t have to physically hold the button down that long on my DSLR (some cameras have built-in bulb timers so you don’t need a remote or have to hold down a button, but not many)
When you can’t make this way work, then there’s another option
Tip #2 – Shoot to stack

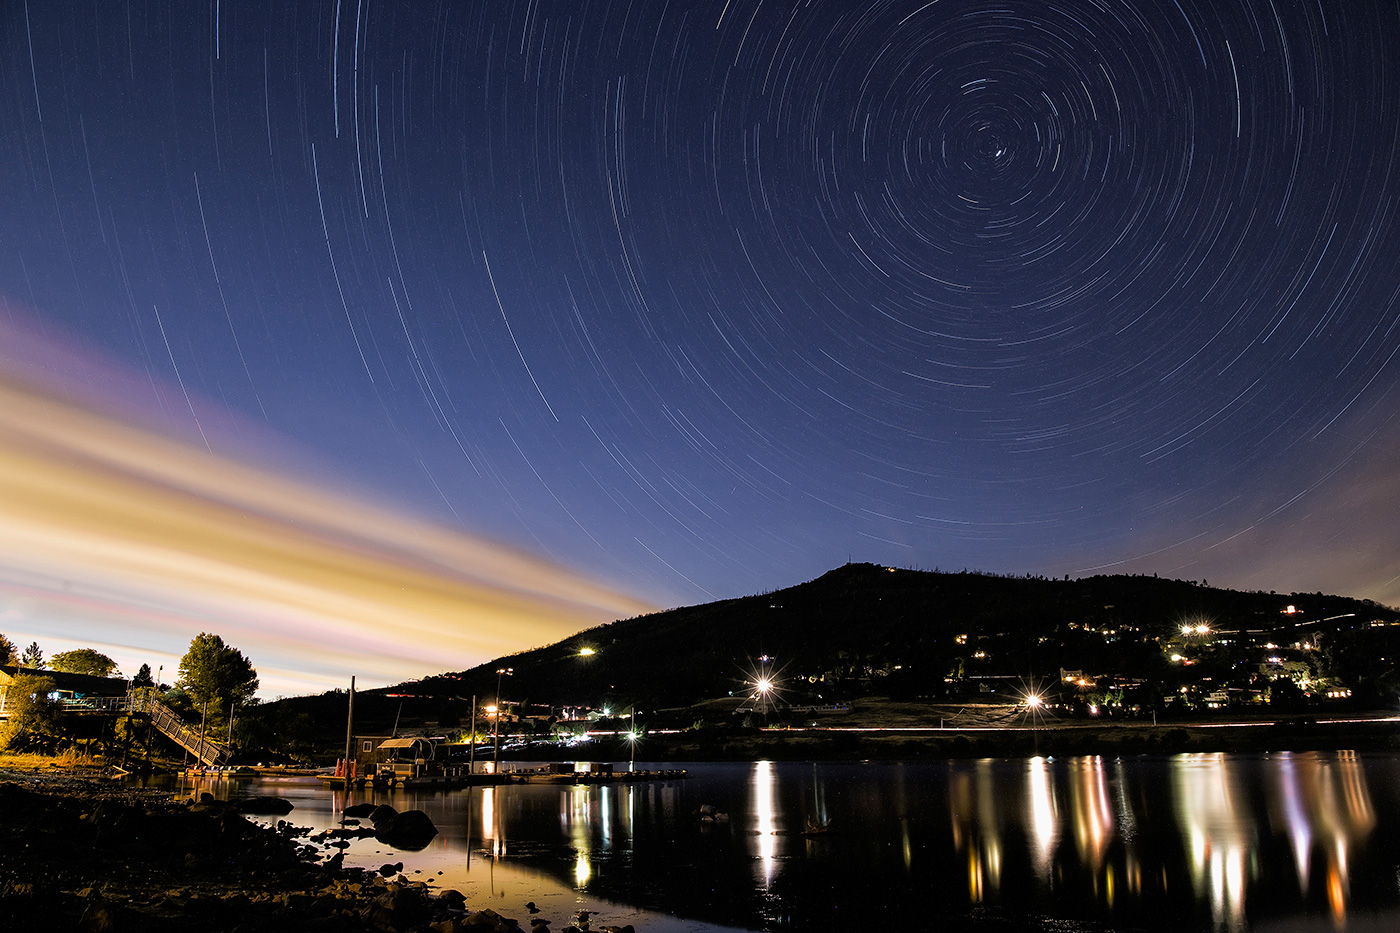
This photo above of Lake Cuyamaca was a combination of 36 photographs. Each one was a simple, 30-second exposure exposing to reveal the stars. I had an interval timer set up in the camera to record back-to-back exposures.
Setting them up as layers in Photoshop, I changed the blending mode on each later to “Lighten” and what this did is it pulled from the lightest part of each image until the stars more or less connected in the sky for trails.
The downside of this method, if you look closely, the lines have a few gaps in them – the interval timer failed seemingly without reason a couple of times and when going to do the layering, it left some gaps in the lines.
Tip #3: Explore your camera’s modes
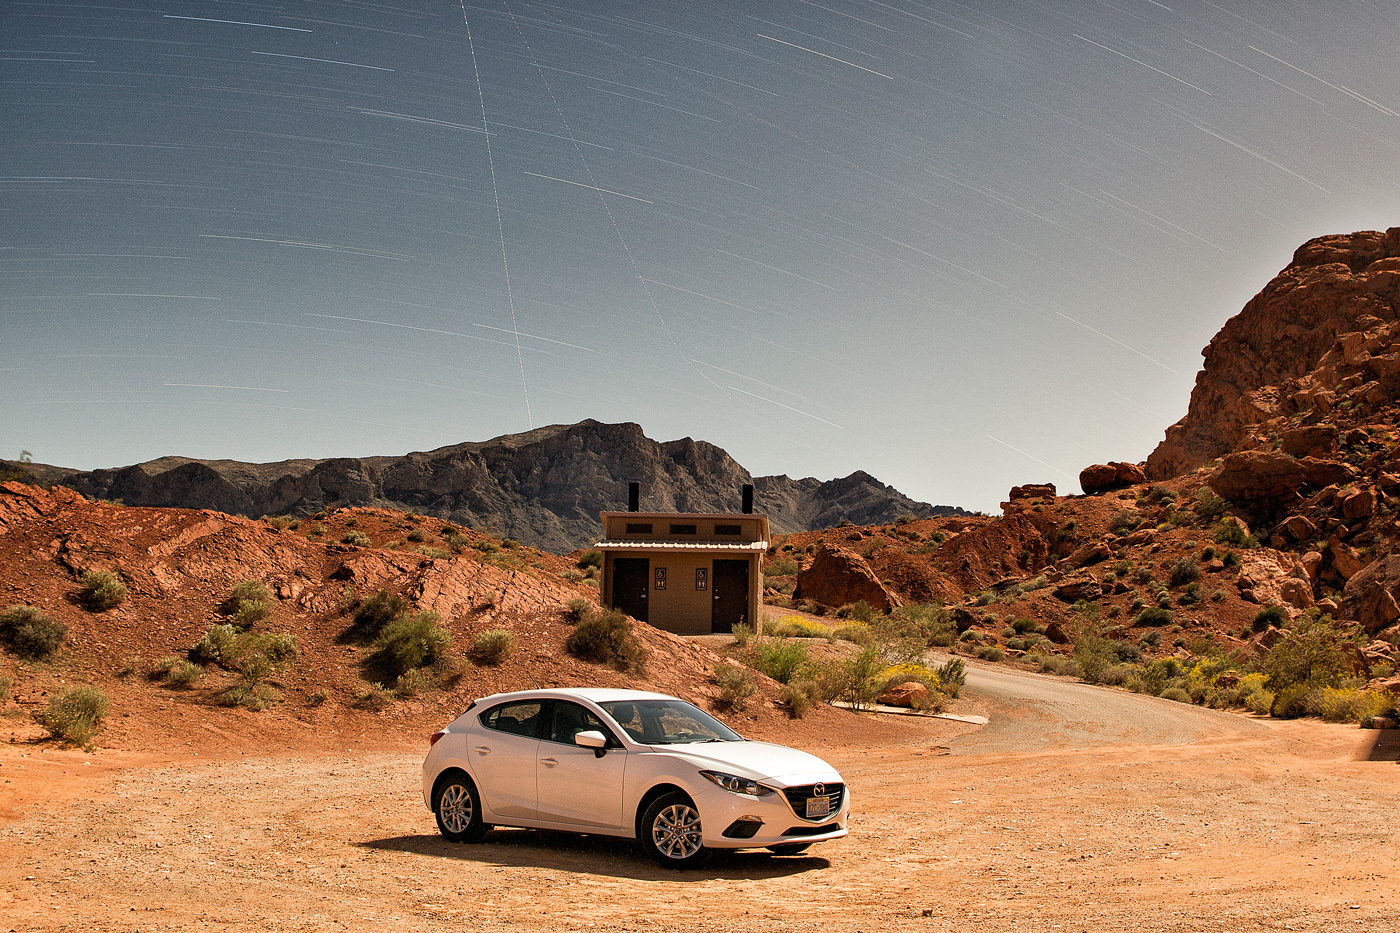
Sometimes, all of this work isn’t really necessary – the featured photo in this post is from the Valley of Fire in Nevada and was shot on a Canon PowerShot G9 X. Sometimes, it’s worth digging through the menus of a point-and-shoot camera’s scene modes to see if something like a “star trails mode” exists.
All I needed was a Gorilla Pod and an hour or so and got these results. While it’s certainly simpler than a DSLR, the DSLR’s big sensor will always win when it comes to detail and low-noise photos at night.
1 thought on “Three tips, better shot: Star trails made easy”