One tip and a complete fail: iPhone meets snowblower

So this week I was planning on taking advantage of Snowstorm Jonas to offer some tips on timelapses. I usually like to do this when I’m shoveling and you can see the whole progression of snow cleanup. Actually I didn’t do so bad with that for Snowstorm Hercules in 2014, but I wanted to do it better, and easier. Key on the “easier” part.

So with that in mind, I diligently set my iPhone for the task. I used a mini tripod with a battery pack taped to one of the legs and plugged it into the iPhone (which wasn’t in a case). I taped that whole rig to the mailbox. I used an OlloClip to get a fisheye view of the whole scene. I turned on the Hyperlapse app and picked up my shovel.

And then I saw a landscaper down the street clearing off the neighbor’s driveway and remembered how my back hurt after hours of shoveling last year.

So instead of doing it myself, I paid him some cash on the spot to clear off my driveway with his snowblower. I didn’t remember that my iPhone was still going.

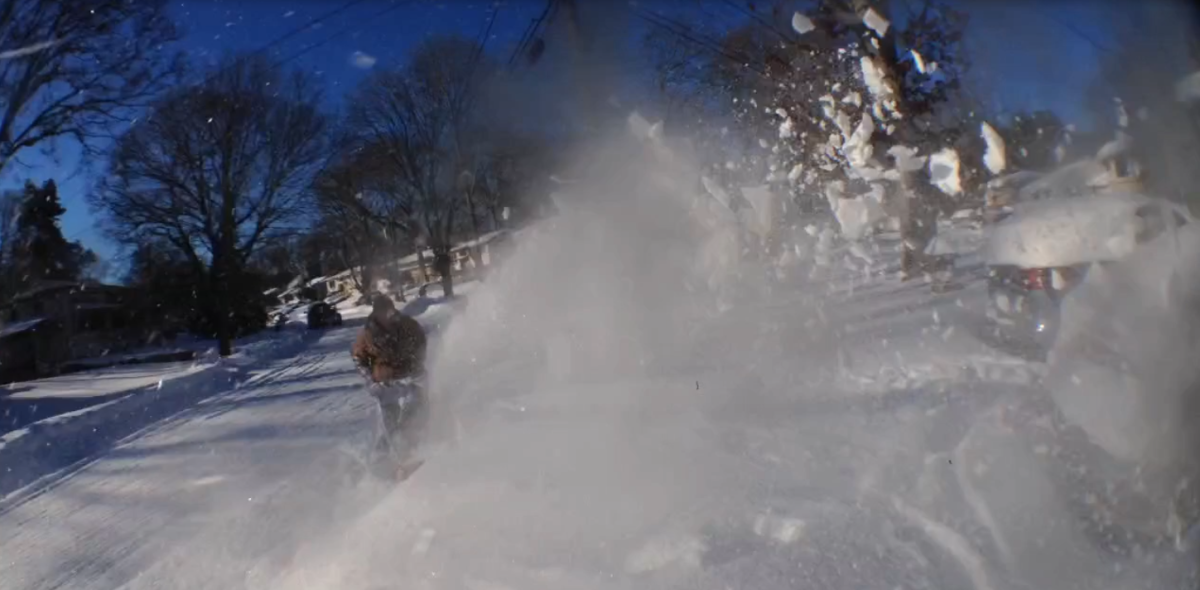
So, instead of timelapse tips, here’s a video of what happens when an iPhone meets the business end of a snowblower.

The iPhone went into a bag of rice immediately after and was fine (rice acts as a dessicant, or something that absorbs water – does this count as a bonus tip?). Clearly it worked, since I was able to post this video.

So …

Tip #1: Put your iPhone in a good, protective case

You don’t want what happened to me to happen to you.

At least having someone clear out the snow left me more time to do this with my son:
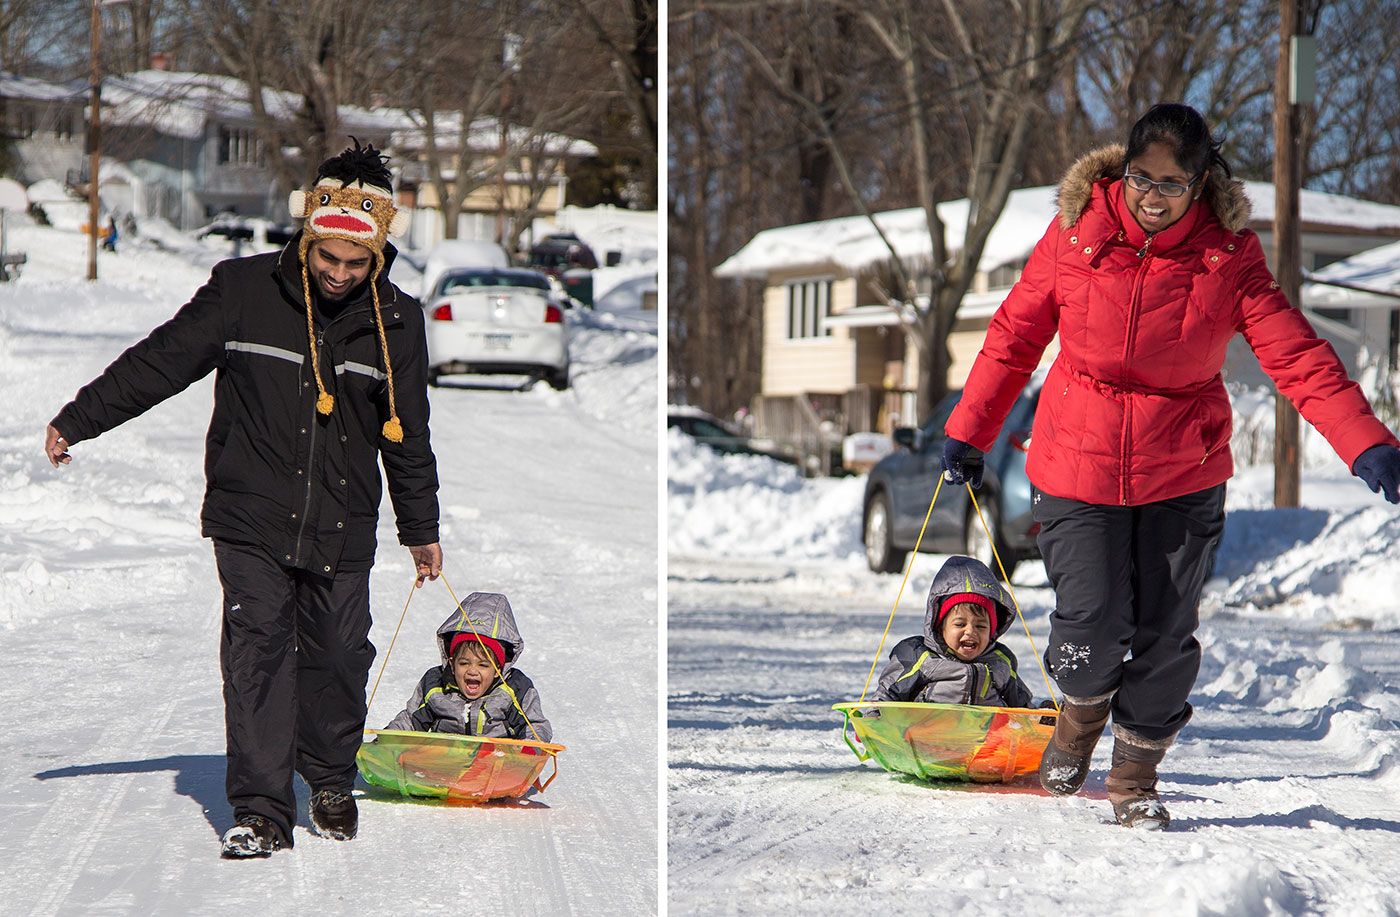
Took the son sledding after Snowstorm Jonas.

Totally worth it.

Three tips, better shot: Easy product photography

If you’ve ever sold anything online, or even just browsed Amazon.com, you’ll know why today’s post is helpful – photographing products on white is something that’s an important technique to have in your toolbox. Some selling sites won’t let you use a photo to promote a product unless it’s on white.

There are many ways to do this, and many ways that are probably better than mine (a lot of people swear by those light tents), depending on what you are working with and the object you are shooting, but in a pinch, this works with minimal equipment (Speedlites and a piece of paper).

Read on to find out some best practices to produce the shot above.
Continue reading “Three tips, better shot: Easy product photography”

Three tips, better shot: Getting the decisive moment

“The Decisive Moment” is one of the key basic concepts drilled into a photography student’s head when first starting out. In sports, it’s capturing the peak moment of a play. With your kids, it’s getting that perfect smile and head positioning. In the featured photo for this post, it’s all about getting the right mix of action and expression as these students graduated from high school.

So how do you make sure you capture that moment instead of missing it? Read on for more tips.

Continue reading “Three tips, better shot: Getting the decisive moment”

Three tips, better shot: Playing in traffic

Sometimes, when I’m photographing something iconic, like the old TWA terminal at JFK (that was featured in my 2015 in photos post), I really wish that I could get a clean shot of it. However, this is New York. Traffic is a fact of life. From most angles, there will be cars driving by no matter what time of day.

So how do you make a photo? Try turning that traffic into a graphic element for your photo!

Tip #1: Try it two ways

When you have a lot of traffic in a photo, you can try shooting a couple of different ways – you can drag the shutter or you can use a very fast shutter speed. Trying both will let you choose the best one in editing later – because sometimes a longer exposure isn’t always the right exposure for your tastes.

The same scene, but captured two different ways. The shot on the left was exposed for 6 seconds at f/13, ISO 100, while the shot on the right was 1/100 second at f/2.8, ISO 5000.
In the photo above, I shot from the same spot above the Las Vegas strip, but with two completely different shutter speeds, adjusting other settings around that main one.

On the left photo, where I kept the shutter open for a full 6 seconds, moving cars turn into streaks of colored light, adding interest to the already chaotic Las Vegas Strip. On the right, a faster shutter speed of 1/100 of a second was used to freeze the motion of the vehicles, yielding a scene more like the eye would expect see it.

I personally like the streaks of light next to the cars stopped in traffic in the left photo. The streaks add a dynamic element of movement to the photo.

Keep on reading for more tips …

Continue reading “Three tips, better shot: Playing in traffic”

Three tips, better shot: Your child’s monthly photo

Raise your hand if you’re a parent that bought an expensive DSLR camera when their kid was born, only to have it collect dust as you use your phone to take all those monthly photos of the little one.

Well here’s an excuse to dust off the DSLR – because you can probably get pretty close to what I do each month for my son (see above) with just a little extra effort. It’ll be far better than the sticker-on-the-chest couch picture with your cell phone. (sorry if that’s you … but I’m here to help! Click below to learn more)

Tip #1: Use something for scale

Kids grow fast, but if they’re just sitting in an empty space, there’s nothing to give a sense of scale. We used a rather large teddy bear and the very standard wooden blocks as a device to chart the son’s growth over the year. Another friend used a stuffed horse that her son would ride in the photo.

If you’re being literal, there’s always a ruler too. Pick something and stick with it month to month, and you’ll be amazed at how fast the little one grows.

Continue reading “Three tips, better shot: Your child’s monthly photo”

Three tips, better shot: Montauk Point Lighthouse

The Montauk Point Lighthouse. Whenever I feel like I haven’t done any photography in a while, I head out east and I’m inspired by the beauty and peace I find out there.

It’s very easy to make the “postcard image” of the lighthouse, but how do you make something different of a subject that countless others photograph day in, day out?

I’ll give you some tips to keep in mind to produce an image like you see at the top of this post – a long exposure taken at sunrise.

Tip #1: Time of Day

It’s the simplest thing to do – change up the time of day you go to the lighthouse. And the best times would be either sunrise or sunset (Google can tell you when that is). You’ll want to get there an hour or two early so that you can find and set up for the best shot. You’ll also want to carry a flashlight if you’re going for sunrise – getting there early means no light to see where you’re walking or what you’re sticking your tripod into (salt water is a very bad thing for tripods)

The Montauk Point Lighthouse during the day.

If you don’t go for one of those times, well, your shot probably looks a lot like this photo to the right.

Which is not to say that’s a bad thing, but it’s certainly an ordinary thing – you’ll get the best shots when you work while everyone else is asleep or at dinner. The lights and colors revealed in the sky during a solid sunrise or sunset is always worth the trip.

Keep on reading for 2 more tips …

Continue reading “Three tips, better shot: Montauk Point Lighthouse”

2015: Year in photos (oh, and welcome to this site!)

In 2011, I started Journographica, a blog dedicated to journalism, visuals, and visual journalism in as many forms as I cared to blog about. It was primarily aimed at my journalism students (I used to teach journalism at Stony Brook University) and it offered buying advice, shooting tips and other news and information on the industry.

Sadly (well, happily actually) a baby and a new job has forced that blog into hibernation. The baby for obvious reasons, the new job because of the perceived conflict of interest of working for a camera company.

(Disclaimer: The opinions on this blog are purely my own and not affiliated with or representative of Canon USA in any way)

And so with that out of the way, here’s an attempt at something else – a blog dedicated solely to photo technique – I’ll be carrying over my photography guides from Journographica in a bit, but in the meantime, I’ll start with something I’d occasionally do over there – take stock of my year in photography. In later posts, I’ll go into how I created some of the more elaborate images, for anyone interested in the technique. Also, please pardon the construction dust. I’ll spruce up the design later.

I started the year at an airport (I didn’t realize just how much time I’d spend at these things) – on a last trip for my old job, teaching a workshop on mobile photo/video for scientists to communicate their research. Before starting the workshop (which took me to Florida), I snagged a photo of the old TWA terminal:

The old TWA Terminal at JFK Airport in New York in January. An example of some beautiful architecture.

And since I was at the workshop talking about mobile photo/video, I thought it would only be appropriate to include a mobile photo shot here, from when I was at the workshop. I was walking from one building to another during a shoot when a flock of seagulls pounced, and I decided to shoot them with a fisheye lens:

A flock of seagulls attack during the workshop I was teaching.

I also won an award for a photo this year! This one took second place in the “Take your best shot” contest at work – they made a large DreamLabo print of it for the wall and there was some money involved. Very cool. That’s me on the docks in Ronkonkoma for this shot:

A foggy night in March on Lake Ronkonkoma.

The first trade show I worked for the company was the NAB Show in Las Vegas. It wasn’t just the first trade show I worked, but also the first time I checked out the Valley of Fire with some coworkers:

In the Valley of Fire outside Las Vegas in April.

Fire indeed.

Continue reading “2015: Year in photos (oh, and welcome to this site!)”