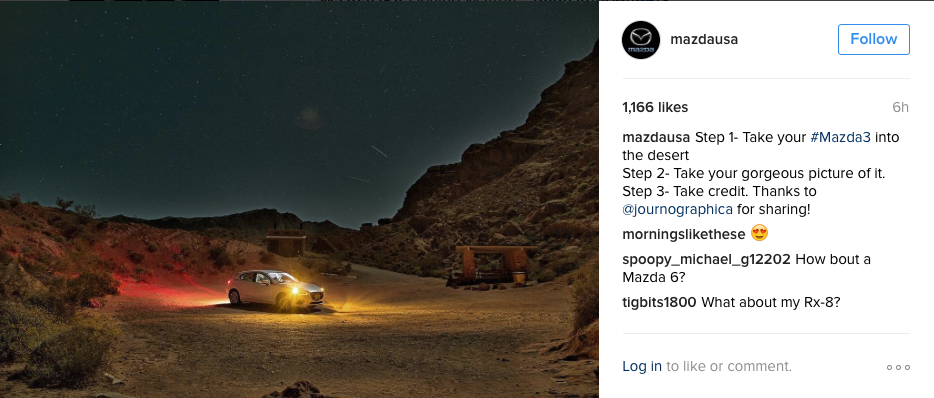
So if you’re a regular viewer of Mazda USA’s Instagram page, you may have noticed the featured image on this post pop up in your feed (and I’m sure the chance of you being a regular viewer of that and this page are slim). That’s my shot from a trip to the Valley of Fire near Las Vegas, NV, and yes, Mazda asked before using it. I’m using this as a good excuse to kick-start this blog again, so here goes the three tips on how I got that shot.
Tip #1: Long exposures aren’t your friend in this case
You can see another photo from this shoot in which I tried a long exposure and it didn’t work. The moon was up and it was too bright. The post I linked to will explain why.
But that’s not the only reason – the longer the exposure, the longer the lights from the car will “bleed” into the shot and I’ll lose all detail around them. Light is cumulative, and so leaving the car lights on with an exposure that’s too long will cause me to lose all detail. In this case, I actually had the blinkers on so at least they were off for half the exposure of 15 seconds. The end result was a bit underexposed, but I bumped up the exposure by about two stops to get the right look for the photo (a full frame camera, like the Canon 6D I used here, gave me the exposure latitude to do this).
After a little post-processing work (more on that later), the end result looked like this:

Tip #2: LumeCubes are my new friends
Not paid by these folks in any way, but I used LumeCubes to light the inside of the car. I tried Canon Speedlite 600EX-RT flashes first, but even at low power they were a bit too bright for my liking. I turned these cubes, which are basically small LED lights that are weather resistant and controllable with your phone, to their lowest setting and strategically placed them into the car to light the interior.
Tip #3: Post-process (yes, again!)
I’ve mentioned it before, but post-processing an image makes all the difference. Not a single thing was added or removed from the shot, but with some careful massaging of the photo through Adobe Camera Raw’s more advanced exposure controls as well as some tweaks to the color balance, we go from something that would end up getting deleted to something that’s worth posting. Don’t believe me? Here’s the original:


